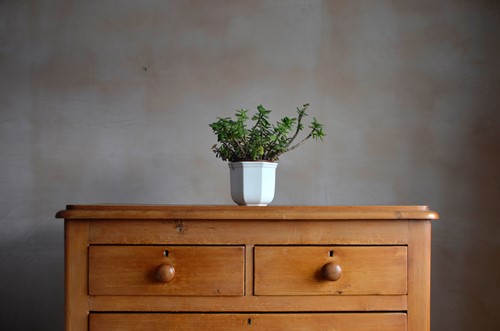
Photo by Zbysiu Rodak on Unsplash
Antiques can bring a unique feel and vibe to almost any decor. But what happens when your antique piece doesn't exactly work in the room it was designed for? If that is the case, it may be time to upcycle it for use in a different room. Below you will find out how to turn your one-of-a-kind antique dresser into a unique vanity for your bathroom. Please note, if at any time you feel this project is a little more than DIY, contact a professional to help you through it.
You will need to find a sink that can fit within the measurements of the top of your dresser. When measuring, always be sure to measure the actual with of the base of the cabinet or dresser, not the overhang. The sink will be deep enough to pass this point, and most overhangs will be at least an inch or more.
After removing the top drawer from the dresser, trace the template that came with the sink onto the top of the dresser with a permanent marker to give you a guide for cutting. Next, use a jigsaw to follow the lines, and cut the piece of wood. Once done, check to make sure that your sink fits, and remove more if needed to accommodate.
Once you know that the sink fits, remove it, and sand down the cut area until it is smooth. Then, finish the dresser using your favorite stain or paint. After the paint or stain has dried, add a protective clear coat as this area will be affected by water.
After your dresser is completely dry, you will need to apply some clear caulking around the rim. Then place the sink on top and press down firmly. You should not need to add any caulking after placing, but make sure you can see the seal all around it.
Determine where the plumbing pipes will need to be attached to the dresser, and cut a hole to allow them to pass through. Next, connect all of your plumbing, making sure to use plumbers tape when connecting to reduce the risk of leaks.
You will want to make sure that your new vanity is tightly affixed to the wall by more than just the plumbing. Once flush against the wall, secure the dresser to the wall-in studs.
By following the few simple tips above, you can convert your favorite antique dresser or cabinet into a fully functional vanity. This can make a great option for those looking for more vanity drawers or storage in their bathroom.

Thank you for taking a moment to meet Dave Abdallah and his team online!
Dave began his real estate career, with Century 21, over 36 years ago following his graduation from the University of Michigan with a degree in Business Administration where he majored in Finance and Marketing.
Since 2000, Dave and his remarkable group have been recognized as the # 1 team in the Great Lakes Region EVERY YEAR, accumulating 2 Team Centurions Awards, 4 Team Double Centurions Awards and in 2024 their 15th team GRAND Centurion Award. Not to mention the Overall # 1 TOP COMPANY Award for 21 consecutive years.